Plastering and Work & Inspection Methodology
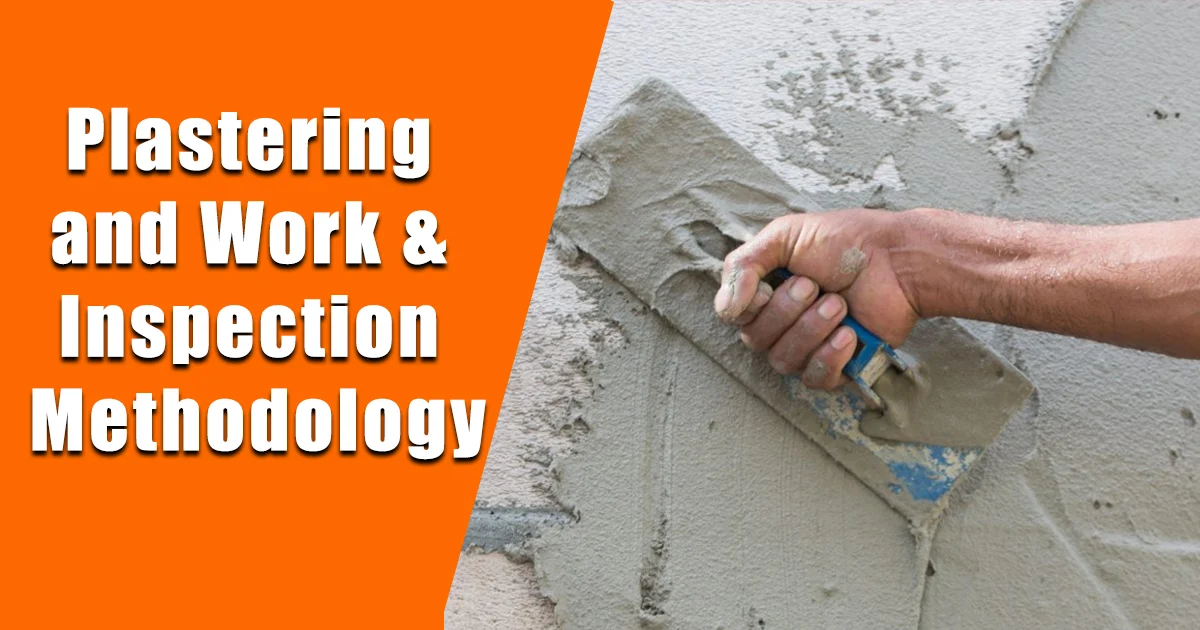
Plastering and Work & Inspection Methodology
Inputs:
Masons Trowels
Sand sieve
Safety goggles
Skilled Masons
Coolies
Scaffolding
Mortar pan
- Preparatory Works
1.Obtain relevant approved construction drawing from consultant.
2.Check verticality and alignment of reinforced concrete structure or brick wall surfaces.
3.Makesure all M&E services completed before starting the work.
4.Determine the thickness of plaster by providing level pegs and at the same time Install corner bits at wall endings and corners for straight edges finishes.
5.Check that the surface to receive the plaster is clean and clear from grease or dirt.
6.Any unintended projections on wall surfaces to be chipped off & cleaned after Completing pegs on walls.
7.Check sand and filter from debris or dirt before mixing.
8.For manual mixing of plaster,measure correct quantities of sand & cement and mix the drying redients well.Add water gradually to get required consistency.Ensure wet mixing of at least 3 minutes.
9.Plaster to be mixed in batches & used within 2hrs of mixing.
10.Any partially set plaster to be discarded.
11.Determine the plaster mix ratio as specified in the relevant drawing.
12.Hacking has to be done in the concrete surface.
13.In the bottom of beam and blockwork joining area concrete has to be done to avoid the cracks.
3.Work Methodology
- Dampen the surface with water before commencing plastering work.
- Inner plaster(1:4mix) of 15mm thick over the whole area to finish to the plane and shape required.
- For interface between reinforced concrete structures and brick wall,fix150mm wide wire mesh with pegs as a form of reinforcement to prevent cracking due to differential shrinkage cracks.
- Scoop the plaster with spatula and apply evenly to the surface.Press the plaster well on to the surface for adequate bonding.
- Monitor the surface required thickness and consistency of plastering work through out the process.
- Upon completion of first coat,inspect the adhesion by tapping the surface to check any hollow sound.
- Roughen the surface of first coat with wire brush,&clean any loose particles with sponge
- Outer plaster apply two coat of plaster.
- Apply the first coat of plaster(1:6mix) of at least 12mm thick on area shaving greater deviation from the intended finish.
- Apply the finishing coat plaster/skim coat(1:4mix) of 8mm thick over the whole area to finish to the plane and shape required.
- Check the verticality and alignment of surface during plastering work using plumb or spirit level.
- Check the vertical and horizontal plastering joints and ensure they are straight.
- Allow curing for 7 days.
Read Ebook Basics Concrete Construction
4.Inspection Methodology
1.The GI expanded wire metal mesh shall be fixed over the junction with nails.The nails shall be driven into the RCC beams/columns after drilling a hole and over brick/block masonry directly.The nails shall best aggered and folded to secure the mesh reinforcement.
2.Metal meshes of 200mm are fixed with sufficient overlap.
- All surfaces of concrete should be cleaned of dried mortar and loose particles.
4.Spattering of cement due to overspill(Spill-over during concreting of slab on to beam by means of a boom pump)should be removed using chipping tool.
5.Slab and beams,columns to be hacked before starting masonry works.
6.Hacking is preferred to be cross–stitched instead of an aligned pattern.
7.Plastering on these surfaces to be done precisely with no protruding surfaces/edges.
8.Ensure right width of plastering mesh has been used depending on the height of the adjust or course.
9.The work should be checked for uniform surface frequently with a straight edge and plumb bob.
10.At the end of the day the plaster should be left cut clean to line,closed not nearer than 15 cm to any corner.
11.When plastering is restarted next day,the edge of the old work should be scrapped cleaned and wetted cement slurry.
12.Curing should be started as soon as the plaster has hardened sufficiently so that it may not be damaged when watered.
13.The plaster should be kept wet for desired period.
14.Any defective plaster should be cut in rectangular shape and replaced.
15.Establish if proper curing has been done.
16.Inspection to bed one after a week to ensure no cracks at joints/plaster.
See More Principles of Plastering